
Onboarding your integration
The Get Started wizard is Junipeer's guided onboarding flow for a new integration. It walks you through five steps in order:
1. Select Flows
2. Connect Systems,
3. Configure Settings,
4. Test and finally
5. Scheduling, Going live
This guide explains what each step does, what decisions to make where, and how to avoid the mistakes that most often cause a rocky go-live.
The five steps
Every integration follows the same path from setup to go-live:
1. Select flows
Toggle on the data flows you need and set their direction. Changing direction is available only for few, unique flows.
At least one flow must be enabled.
This is a core decision that has to be made for your e-commerce; what kind of data is about to be transmitted between systems via the Junipeer connector. Choosing proper flows will later determine the course of the onboarding, as well as the whole functionality of the connector.
Direction matters. For flows that can go either way (Orders, Customers), the direction determines which system is the source of truth. Getting this wrong causes data to be overwritten in the wrong direction. If in doubt, ask your Junipeer onboarding contact before enabling.
Watch out for duplicate flows across integrations. If you have both an e-commerce integration (e.g. Shopify → Business Central) and a PSP integration (e.g. Qliro → Business Central), do not enable Orders in both — orders will be created twice. Keep Orders on the e-commerce integration and limit the PSP integration to Payouts (and possibly Refunds).
2. Connect systems
Authenticate both sides of the integration. The course of this objective is highly dependant on the services chosen to be connected. Some of them require an input with specific credentials/keys/login details. Others will require users just to click the button and authorise their systems via the login.
It's always a good practice to prepare any relevant credentials beforehand and make sure that logged users have all the required permissions inside their connected systems.
3. Configure settings
Every single activated flow will offer its relevant parts of configuration under this view. It's possible to browse all of them, but it's recommended to first focus on the settings labeled as "required".
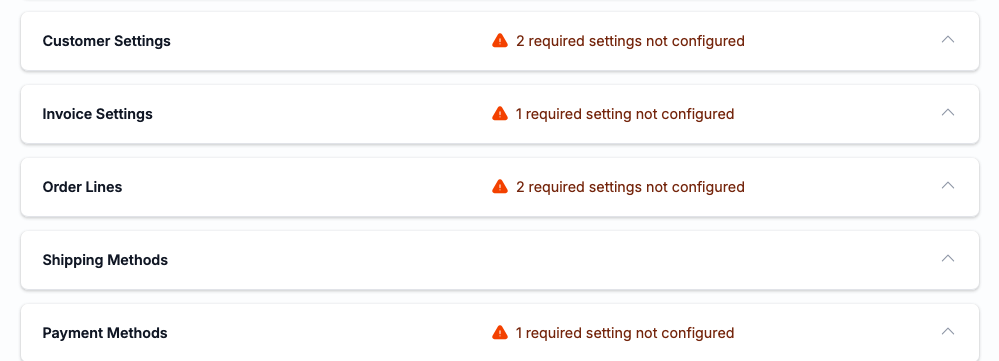
These settings are usually essential to produce a minimal configuration for testing. Other settings might adjust nuances that will be defined after watching first test results.
Mind that filter settings are recommended, but not required:
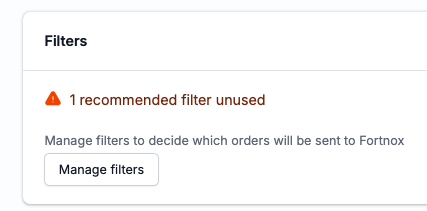
So these can be skipped.
The goal of Step 3 is a testable configuration, not a perfect one. Configure enough that a test order can flow end-to-end without errors. Fine-tuning happens after you see real behaviour in Step 4.
4. Test integration
Run one or more test entities through the integration. First, please prepare test samples (orders, articles, customers) and their IDs.
Standard test workflow:
Create a test entity in the source system (e.g. a test order in Shopify)
Copy its ID
Paste the ID into the Junipeer test panel and run
Check the result in the Junipeer Logs and the destination system — was the record created correctly? Are the fields mapped as expected? Is VAT applied correctly?
If something is wrong, check the Logs view for the error, adjust settings in Step 3, and re-test
Repeat for edge cases: an order with a discount, an order across VAT boundaries, an order with a payment method you're unsure about, an order with multiple line items and shipping. Each of these can expose a different mapping gap.
5. Start syncing
Enable scheduling and/or webhooks. Configuring and enabling these settings basically results in a go-live.